Play & Activities
7 min read

1
Play & Activities
7 min read
7 min read
7 min read
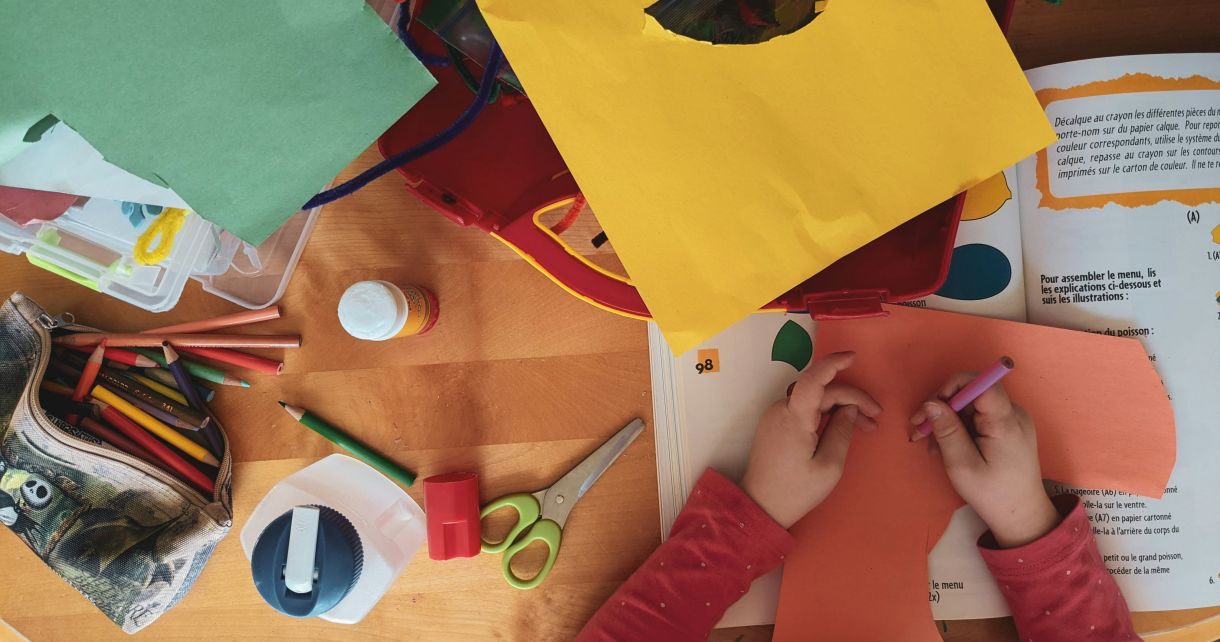
Spooky season is a fantastic opportunity to engage your child’s inner artist as they conjure up more scare-tastic arts and crafts projects than you can shake a witch’s broom at. (Don’t shake brooms indoors, FYI.)
But with so many options, it can be a monster challenge to know where to start.
With that in mind, we’ve pulled together a selection of easy Halloween crafts for children, each requiring minimal materials but delivering maximum fun.
From groovy cardboard ghouls to petrifying pumpkin prints, our picks cover all spooky bases, leaving you with a brilliant batch of DIY decorations ready to display.
FYI: While everything on our list is child-friendly, be sure to always supervise your little one as they craft their macabre masterpieces.
Ready to get creative? Let’s dive in. Starting with…
Since their invention, children have found approximately 14,785 uses for the cardboard tubes used for kitchen and toilet rolls, from telescopes to trumpets and everything in between.
So, we’d be missing a trick (and treat!) if we didn’t include something on our list of Halloween craft ideas that took advantage of kids’ natural knack for reimagining perhaps the most everyday of everyday items.
Whether they’re whipping a fiendish Frankenstein’s monster, a monstrous mummy, or a ghastly ghoul of their own imagining, crafting cardboard ghouls is an activity that’ll get your little one’s creative cogs whirring and leave you with a batch of DIY Halloween decorations to display at your mini-monster’s soiree.
Once you’ve assembled your monstrous materials, the real fun can begin. To design your brilliant brood, it’s an easy-breezy two-stop process.
First, cut enough coloured paper to comfortably wrap each tube. Then, affix googly eyes, pipe cleaners, and other design flourishes as you see fit. You might use pipe cleaners for hair, a triangle of card for fangs, and so on.
Whether you’re designing an original monster or recreating an existing ghoul, the only limit is your (or your little one’s) imagination.
Creating cardboard monsters is also a fantastic way to re-use and recycle cardboard tubes; one of the many (many) ways you can go green for Halloween.
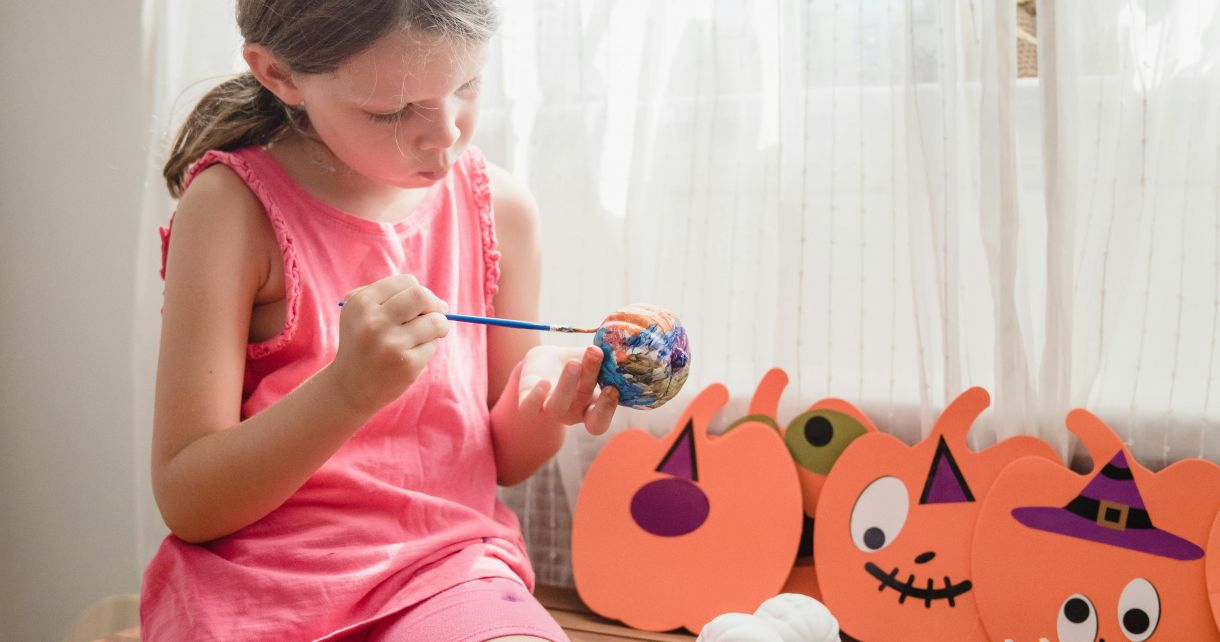
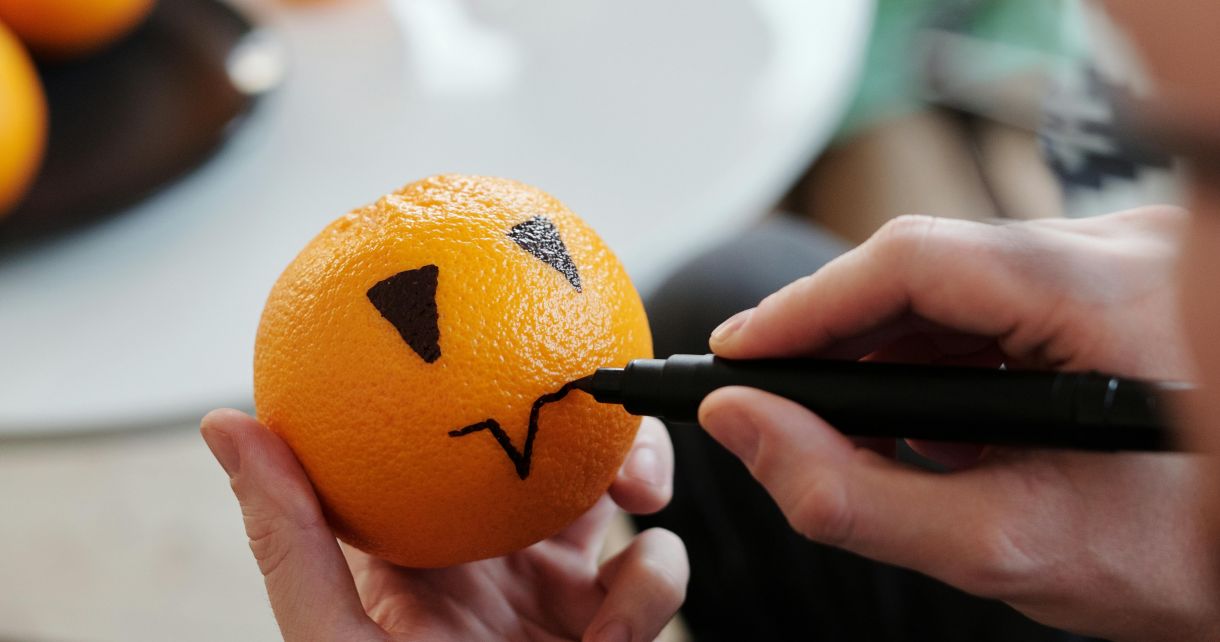
Apples make excellent pumpkins. Who knew? Us. We knew. And soon, so will you.
Pumpkin printing is a neat Halloween craft idea for toddlers and preschoolers alike, requiring little equipment but delivering big enjoyment.
And it’s as easy as it sounds. Simply slice several apples in half before scooping out the seeds for a more even print. Then, paint your apple halves a vibrant shade of orange before firmly pressing them onto your card. You might also want to add stems and leaves to really sell the pumpkin-ness.
Once you’ve got a batch of pumpkin prints, it’s time to get (more) creative, encouraging your little one to add any flourish they see fit.
They might opt for the tried-and-true method of painting faces directly onto the pumpkins with black paint or take a more mixed-media approach by adding googly eyes and cardboard teeth.
If you’re eager to transform your little ones’ pumpkin prints into a spot of DIY Halloween décor, you could even cut your card into triangles and thread them together with string for a ghoulish garland.
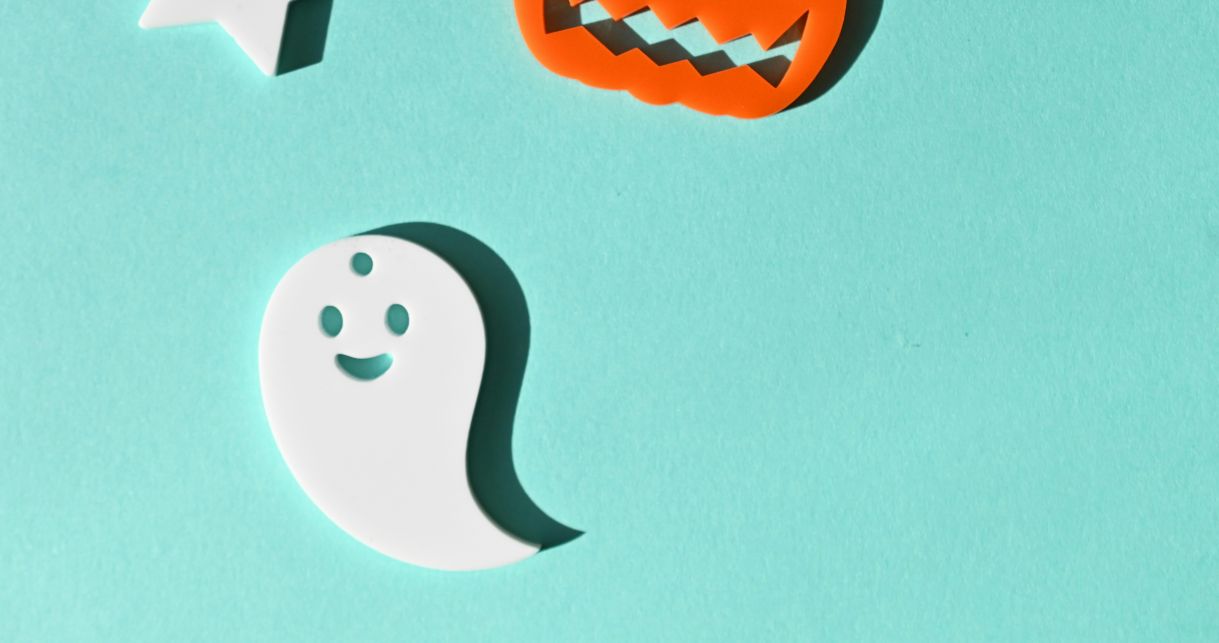
Another low-equipment, high-enjoyment craft activity that’ll occupy and delight your little monsters this spooky season. Presenting… Chalk Ghosts!
Do you have to use chalk? Yes. Do they have to be ghosts? Also yes.
But that’s not us stifling your little ones’ creativity. Far from it. You see, unlike other drawing materials, chalk can be easily smudged and shaded, making it ideal for super-spooky ghosts.
FYI: You don’t have to use store-bought cookie cutters; you can just as easily fashion your own out of thick card, they’re just templates to get the design down.
To design your chalk ghosts, simply press a cookie cutter/template firmly onto a piece of card – black will make the colours pop, but any colour is fine.
Next, use chalk to scribble within the cookie cutter until you’ve got a ghostly outline. Then, remove the cutter and use a finger to smudge the chalk to give each ghost a unique shape. From there, simply add detail using googly eyes or card.
FYI: You don’t have to restrict this idea to the medium of card, either. Remember, chalk washes off. So, if you’re feeling bold, maybe bundle up and scribble your ghostly designs directly onto your driveway.
(Always your driveway. Never the neighbours’.)
An opportunity for your little one to get literally hands-on with the Halloween crafts, creating clay handprint decorations is a fiendishly fun way to spend an autumn afternoon. (And a neat indoor activity for a rainy day.)
FYI: This spot of clay-based craft will require a little more adult assistance, but the results make the effort worthwhile, leaving you with a unique keepsake.
What you’ll need:
The process itself is delightfully simple, if a tad time-consuming, so be sure to clear out an hour or two in your weekend calendar.
To produce your horrible handprint decoration, you’ll first need to roll out your clay with a rolling pin, making sure it’s even. Then, get your little one to press their hand (or foot!) firmly into the clay, holding it there for twenty seconds or so.
Next, cut around the hand/footprint using a modelling tool or knife (adults only!), before piercing the hand to thread a ribbon or piece of string through.
Finally, the fun part. Once the clay’s dry, encourage your little one to paint it in any design they choose. (We’re partial to ghosts, as there’s less paint required.)
As we say, this particular Halloween craft activity is very hands-on, with a real tactile aspect, leaning into the benefits of sensory play.
Got an abundance of paper plates for your Halloween party, because nowhere sells them in small numbers? (Seriously, who needs 500 plates?)
Don’t fret, we’ve got a simple solution that’ll use up those pesky excess plates, let your little one unleash their creative flair and leave you with one-of-a-kind party decorations. But what is this multi-purpose solution, we hear you cry?
Paper plate masks.
There’s nothing rocket science-y about this spot of Halloween craft, just good old-fashioned paint on plates.
To bring your monster plates to life, start by fully painting a plate in the base colour of your monster. Next, get your little one to design a batch of monster-face-parts (i.e. mouths, eyes, etc) and cut them out individually.
From there, it’s basically a case of mix-and-match, arranging the monster parts into faces until your little one is satisfied with their monster. Be sure to let them lead the creative process; there’s nothing more potent than a child’s imagination.
Once your little one is happy with their gruesome (or cute) creation, use glue to fix everything into place before either piercing a hole in the ‘mask’ and hanging it up, or attaching a string to make a bona fide wearable mask.
And there you have it! A beastly batch of easy Halloween crafts for children, guaranteed to engage and delight your little monster.
Need more activity inspiration? Head over to our blog, where you’ll find articles on everything from autumn activities for children to handmade Christmas decorations to make with children.
by Busy Bees
Published: 17/02/2026
Share Blog
by Busy Bees 24/07/2026
7 min read
by Busy Bees 24/07/2026
5 min read
by Busy Bees 08/07/2026
5 min read
by Von Brookstein 02/07/2026
6 min read
by Jenny Shaw 24/06/2026
5 min read


