Play & Activities
7 min read
1
Play & Activities
7 min read
7 min read
7 min read
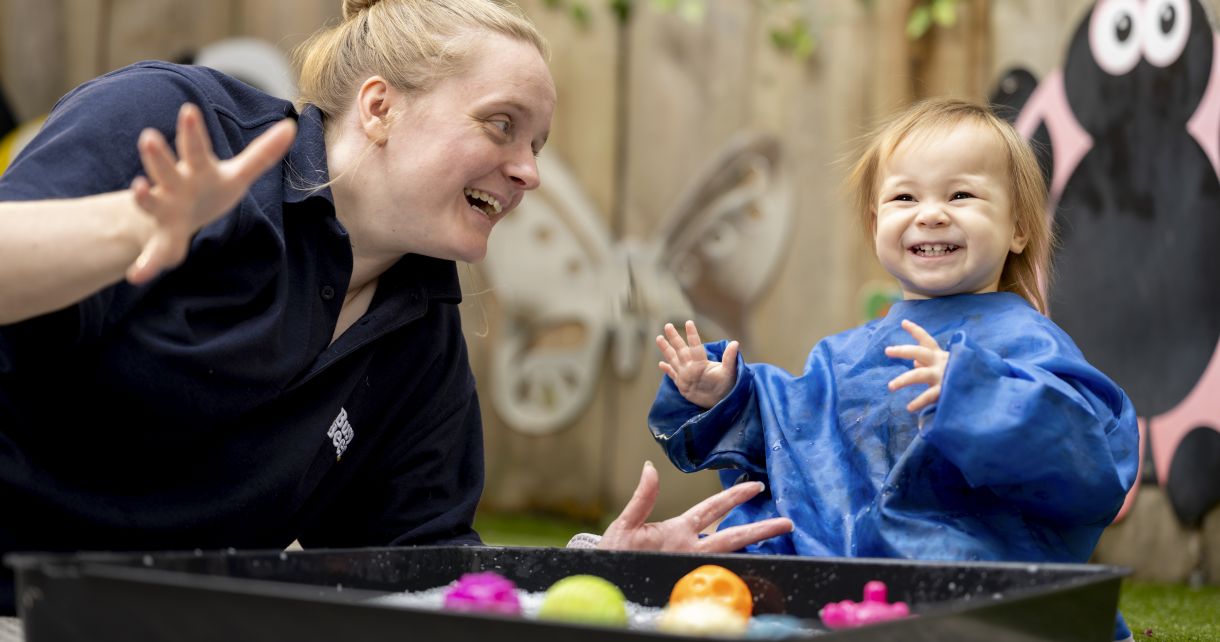
Children love science, even if they don’t know they love science.
Whether it’s the eruption of a baking soda and vinegar volcano or the giggle-inducing glee of going ice fishing, even the most basic of scientific experiments has all the ingredients to delight tiny minds.
At its core, science is about discovery, which speaks to children’s natural inquisitiveness. They want to learn how things work, even at a young age.
It’s fun, too! The simplest of science experiments is an opportunity to spend quality time together doing something that’s educational and entertaining.
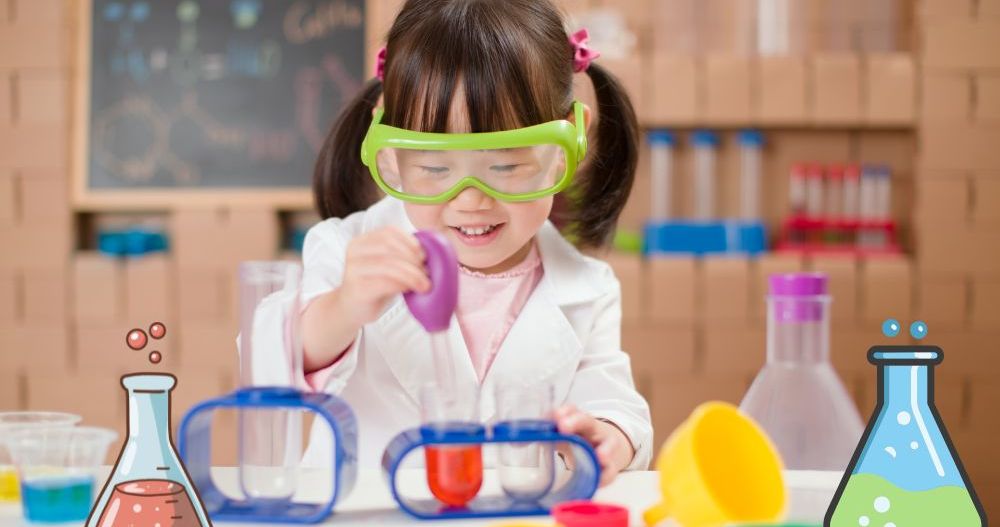
With that in mind, we figured we’d don our lab coats and conjure up a batch of easy science experiments to do at home with children, ranging from classics to a few you may not have heard of.
You don’t need any special equipment, just a range of everyday items you’ll likely have lurking in cupboards and drawers.
We’re big believers in the power of science for children. Within our Bee Curious curriculum, children take part in ‘Invitations to Learn’ – a project-based approach designed to build on children’s natural curiosity and provide meaningful opportunities to explore early scientific concepts.
So, before we dive into the experiments, let’s take a moment to explore the many benefits of science for children.
The benefits of science for children
Children’s inquisitiveness knows no bounds. As a parent, you’ll likely already know this from the 14.7 billion questions you answer each day. (We’re rounding down.)
And that’s fantastic! At early developmental stages, your little one’s mind is like a sponge; eager to soak up as much knowledge as it can.
Science quenches this thirst for knowledge and allows your little one to engage with ideas that’ll get their cogs whirring and support their academic development.
You see, even basic science-based activities pose huge benefits to your child’s development, improving everything from critical thinking to vocabulary. And that’s without mentioning the benefits to creative thinking, self-confidence, and fine motor skills that go hand-in-hand with science.
Whichever way you slice it, science is hugely beneficial to developing brains, offering them the type of novelty and stimulation they crave at early stages.
According to the British Science Association, the benefits of science for early years learners are long-term in nature, laying the groundwork for academic success at later stages of development.
Essentially, science helps your little one develop the types of analytical skills, observational prowess, and sheer patience they’ll need on their learning journey.
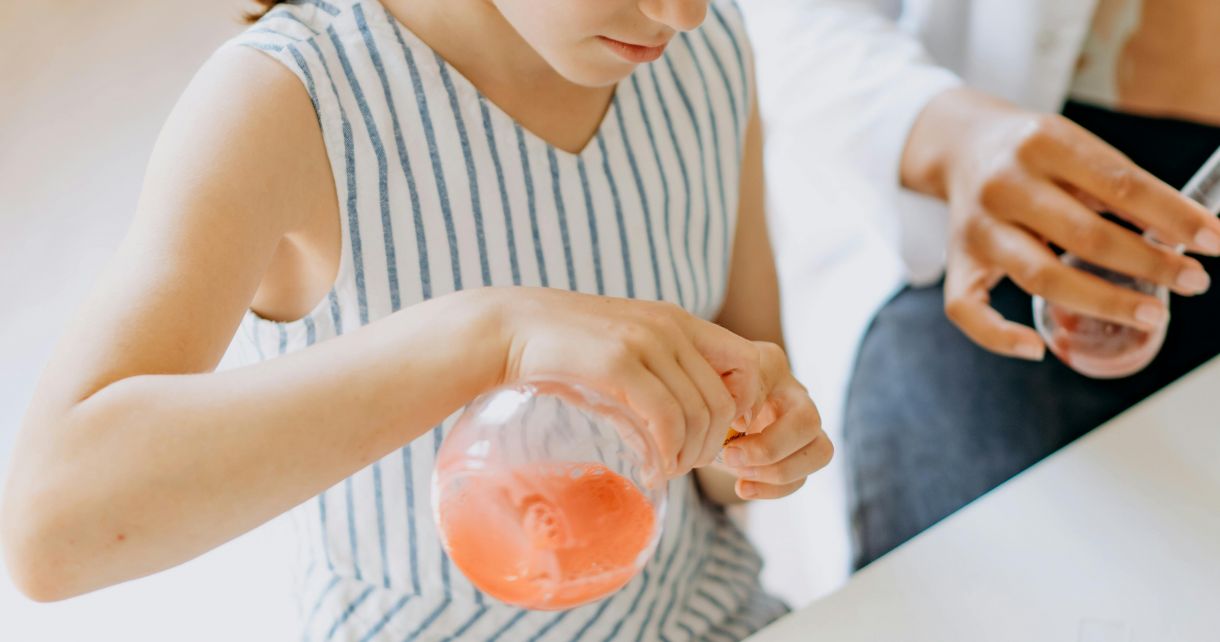
Let’s get to the experiments, shall we?
A stone-cold science classic, guaranteed to delight your little one.
And while the effervescent eruption is the headline act, the experiment itself teaches your little one the basics of chemical reactions, as well as the language required to describe them.
What you’ll need:
Once you’ve gathered your volcano ingredients, fill the plastic bottle halfway with baking soda before adding a couple of squirts of washing-up liquid.From there, pour ½ cup (approx. 120 ml) of vinegar into the bottle. Almost as soon as you do, the mixture will begin to fizz and froth before ‘erupting'.
If you really want to sell the volcano-ness of this experiment, weave in a little arts and crafts and build and paint a papier mache volcano, with the bottle serving as the volcano itself.
Once your volcano has erupted, ask your little one what they saw, emphasising words like ‘froth’ and ‘fizz’ to help them describe the eruption.
You could even ask them why they think it erupted, but don’t steal the magic of the experiment by morphing it into a bona fide lesson—there’ll be plenty of time for that further down the line.
FYI: It’s probably best that you conduct this particular experiment in a space that can be easily cleaned afterwards, as the results are quite literally explosive.
Safety Tips:
Don’t worry, there are no wellies or waterproofs required for this one.
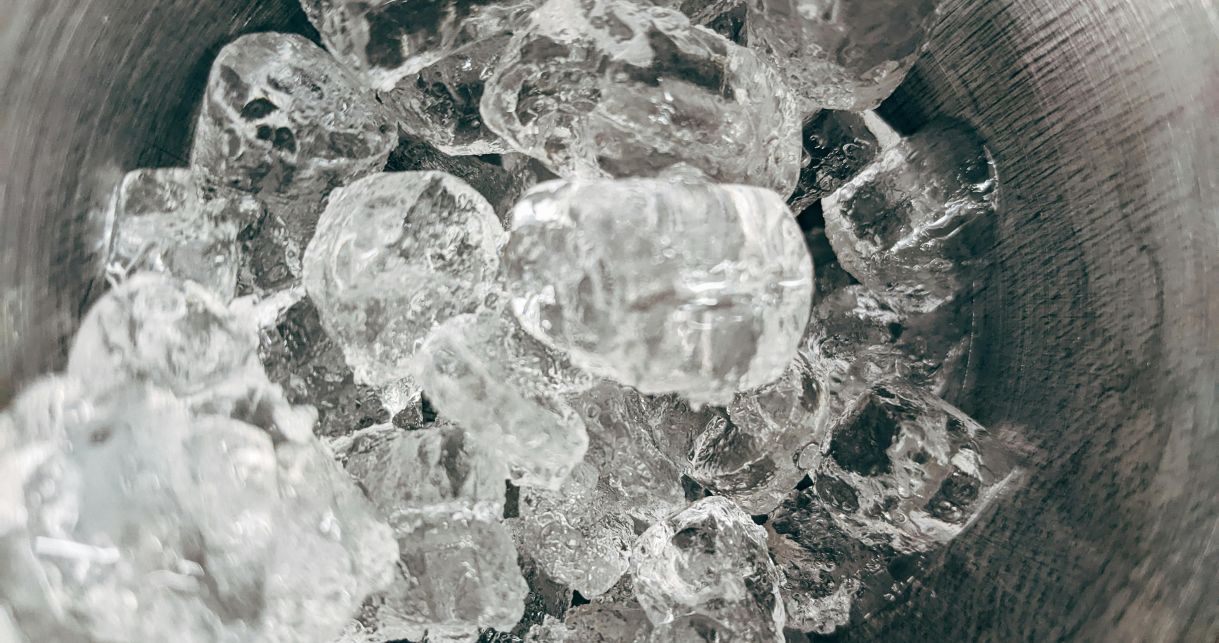
The ice fishing experiment is a wonderful activity that feels almost like magic to toddlers, while quietly introducing them to early scientific ideas like cause and effect and changes in materials.
It’s short, hands-on, and perfect for little attention spans.
What you’ll need:
Start by placing an ice cube into a bowl of cold water and laying the string gently across the top of it. Ask your toddler what they think will happen if you try to lift the ice using the string alone (spoiler: it won’t budge).
Now for the magic moment.
Sprinkle a small pinch of salt where the string touches the ice and wait for around 30 seconds. Then slowly lift the string, the ice cube should come with it, as if you’ve caught it while fishing.
Expect wide eyes, gasps, and requests to “do it again”.
While the science behind this experiment involves freezing and melting, there’s no need to explain that in detail to toddlers. Instead, focus on what they can see and feel. Use simple language like cold, wet, ice, water, and lift to build vocabulary naturally.
Safety Tips:
Science is all about igniting your little one’s curiosity, and there’s no quicker way to do that than to tell them that you can make water walk.
The so-called ‘walking water’ experiment (it’s more jumping, if you ask us…) is a deceptively simple spot of science that’ll introduce your little one to the basic concepts of adhesion and cohesion.
But don’t pitch it to them like that, because you’ll lose them. Instead, focus on the magical movement of the water. This experiment is more about captivating your little one and kickstarting a lifelong love of science.
To make your water walk, you’ll need:
Once you’ve assembled your materials, it’s time to bring the wow factor.
First, place your cups/glasses in a row, filling the 1st, 3rd, 5th, and 7th cups ¾ full of cold water. Then, add 5 drops of red food colouring to the 1st and 7th cup.
Next, add 5 drops of yellow food colouring to the 3rd cup before adding 5 drops of blue colouring to the 5th cup. Still with us? Good, because here comes the magic.
After filling your cups and adding your food colouring, fold a paper towel in half lengthways, then repeat. From there, roll the paper towel and pop one half in the first cup and the other half in the 2nd cup. Next, add a rolled-up paper towel connecting the 2nd and 3rd cups in the same way. Repeat this step until all cups are connected.
Then… sit back and enjoy the show. We won’t spoil the full effect for you, and we couldn’t do it justice if we tried.
Be sure to engage your little one by asking what they think is happening, and why.
Safety Tips:
Another classic of the easy science experiments genre, and with good reason. It requires almost zero equipment and is all but guaranteed to get your little one giggling with glee.
But that doesn’t mean it’s without scientific merit. In fact, this ultra-easy experiment neatly teaches the basics of friction and motion; ideas your little one will expand on further down the line.
To get started, all you’ll need is:
Side note: You’ll need to choose a heavy book to get the most from this experiment, so be mindful of your setup to ensure it doesn’t fall onto your little one as they’re moving it around.
Once you’ve chosen your book, set it on a smooth, flat surface and get your little one to slide it about a foot away, asking them to note how much strength it took to do so.
Then, place several straws beneath the book (like axles) and get your little one to move the book again, once again asking them how much strength it took.
They will, of course, note that it was easier the second time, at which point you can swoop in and tell them that it’s because the straws reduced the friction between the book and the surface.
Easy-breezy science that tackles huge concepts. What’s not to love?
Safety Tips:
As you’ve probably figured out from the less-than-snazzy title, we’re rounding out our list of easy science experiments with a peek into the always delightful, occasionally baffling world of buoyancy.
In many ways, science is a constant cycle of prediction and observation, and this simple experiment explores both as you’ll encourage your child to predict, you guessed it, what will sink and what will float.
For this experiment, you’ll need:
As for the items themselves, you’ll need a decent mix of objects that will sink or float, such as:
Once you’ve assembled your objects, you’re ready to go. But before you begin dropping your items into the water, be sure to ask your little ones to make predictions about what they think will happen, and why.
It’s in those predictions, and the subsequent observations, that their brains will be whirring with ideas, setting the groundwork for the type of curiosity and deductive reasoning that science is built on.
As you’re submerging your objects, be sure to sprinkle in a few key phrases such as ‘heavy’, ‘light’, ‘floating’, and ‘sinking’ to help develop your little one’s vocabulary.
Eager to toss a curveball into your experiment? Why not try including some objects that seem like they’ll sink, but actually float, such as apples, oranges, and lemons.
Whatever items you choose to include and however much panache you add to proceedings, the sinking and floating test is an ideal science experiment for preschoolers and older children alike.
Safety Tips:
Whether you’re introducing your little one to scientific concepts for the first time or building on their existing knowledge, these easy science experiments strike a neat balance between fun activity and learning exercise.
And if you’re anything like us when testing these experiments, you’ll learn a thing or two yourself along the way.
Need more fun activities to support your little one’s development? Check out our blog, where you’ll find articles on everything from fine motor skills activities to tips for expanding your child’s vocabulary.
by Busy Bees
Published: 06/02/2026
Share Blog
by Busy Bees 08/07/2026
5 min read
by Von Brookstein 02/07/2026
6 min read
by Jenny Shaw 24/06/2026
5 min read

by Busy Bees 05/06/2026
5 min read
by Busy Bees 05/06/2026
6 min read


